Did you know that many successful songs have bits and pieces of older tracks that the majority of Gen-Zers won’t recognize today? In my opinion, that’s equal parts unbelievable and creative!
If we wish to keep things a notch more professional, we’d start using big words like music sampling. So, what does sampling mean in music? And how to begin a journey down that road in a few simple steps?
In this article, we’ll answer each question that may cross your mind when you think about music sampling. Let’s dive in!
What Is Sampling in Music?
Music sampling refers to the act of taking a portion of a pre-existing song to use in a brand new recording. It doesn’t matter if that piece is two or ten seconds long, it still falls under the same terminology.
That sample might contain several elements individually such as the rhythm, melody, vocals, and more. Or, it could include a whole bar of music.
After the sampler takes out the part that they want, they’ll then loop it and put it with new music to fit it in an entirely new context. But before we learn how that process works in-depth, why don’t we know more about how the concept of music sampling originated?
The Evolution of Music Sampling: From the ‘40s to the Digital Era
Even though you might clearly see how sampling fits in modern genres like hip-hop and techno music, its origins date back to the audio tape era. During these days, people didn’t have DAWs to arrange their loops in a heartbeat. Instead, it was all done via tape looping.
Just thinking about that makes me feel exhausted!
Let’s find out how things went from tiresome audio tape looping to creating seamless grooves on GarageBand.
Origins
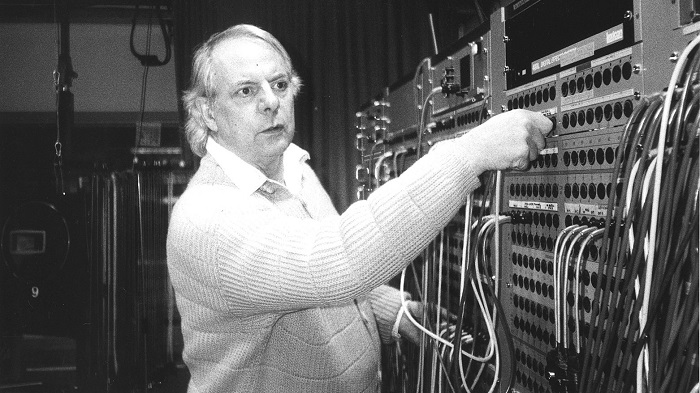
Music sampling wasn’t a stranger to producers in the 1940s. Back in the day, Avante-Garde composers experimented with tape looping during what was known as the “musique concrète” movement.
Led by artists such as Karheinz Stockhausen and Edgard Varèse, the phenomenon of tape looping rose to the surface. As a result, many artists were influenced by the concept, including Fluxus musicians in the 1960s.
Better yet, the Beatles had their fair share of experimenting with tape looping as well. It even shows in their 1968 recording “Revolution No. 9.”
Yet, when you think about the musical genre that took huge advantage of music sampling, you’ll find out that it’s hip-hop. And it all dates back to the 1960s when reggae artists began their own experiments with this idea.
Appearance in Hip-Hop Music
This is when things started getting more interesting. In the ‘60s, Jamaican dub artists went on to use vocal samples to create riddim tracks. Soon enough, their work caught the attention of different hip-hop producers of that time.
Fast forward ten years later, American rappers and hip-hop producers became more confident and comfortable using samples.
By that point, looping samples to include in their tracks was a normal part of their routine.
Samplers were entirely devoted to that cause, and they provided artists with backing tracks to take samples from.
Two of the most popular samplers back then were Fairlight CMI and E-mu Emulator. As for the artists who used their samples, a few examples include Biz Markie, De La Soul, and Public Enemy.
But, you might be wondering: “What are the sources of these samples anyway?”
The Incorporation of Funk and Rock Samples in Hip-Hop

Well, you should know that the vast majority of samples used in hip-hop tracks were taken from funk and rock music of the ‘60s and ‘70s. Those tracks were a fertile ground of music richness, and countless artists featured elements of these recordings in their new music.
Take “Freedom” by Grandmaster Flash and the Furious Five for example. It’s one of the first-ever hip-hop hits, and it includes a sample of “Get Up and Dance” by the band Freedom.
Another track that used rock music as its sampling source is “Rhymin’ and Stealin’.” The 1986 Beastie Boys song features the drum groove that John Bonham played in Led Zeppelin’s “When the Levee Breaks.”
Contemporary Music Sampling
Nowadays, with numerous online sources of music, sampling can be done by a guy and his laptop. All anyone needs to start experimenting with samples is a reliable DAW and access to audio files.
In the music industry, it’s quite easy to obtain sample clearance and start working on a new project. Producers like Timbaland and DJ Shadow are known to pull their samples from various sources for future music.
Still, it may come off as a surprise that 1970s rock and funk find their way sometimes to modern-day techno and electro-pop tracks. After all, the music of that era is timeless!
Is It Legal to Sample Music?
Yes, but only under certain circumstances. After all, taking a part of someone’s song means that you’re using their intellectual property for your own purposes. Of course, this property is subject to copyright, so you must pay attention to avoid legal issues.
Think of it as someone copying a sentence or paragraph from a source as-is and pasting it in their book. Without referring to the original material, that person may face copyright infringement problems.

The only way that a DJ must go to sample an artist’s music is by obtaining sample clearance from the artist as well as the copyright owner. Both can be the same person or two separate entities.
But if you’re someone who wants to try sampling at home, how can you do it without the need for a sample clearance?
Well, one of the best things about today’s world is that there are countless ways to achieve what you want. I mean, getting a sample from a Green Day song may not be a piece of cake, but you can find good music samples elsewhere.
For example, the internet is full of sound libraries that are royalty-free. If you don’t want to go down that road, there are other ways to get audio files besides these sources. We’ll discuss those later on.
But now, let’s go through the steps that a producer takes to obtain a sample clearance.
How Do Music Producers Obtain a Sample Clearance?
Imagine this scenario. Timbaland is working on a new hip-hop project again. He’s fallen in love with a 1990 track so much to the point that he wants to import the guitar riff to use in his song.
Well, the following steps describe what he has to do to make this goal possible.
Step 1: Finding the Copyright Owners
I mean, to get a copyright owner’s permission, you must know who they are, right?
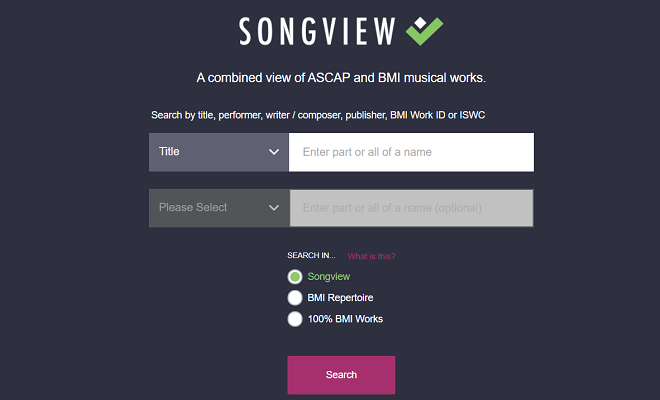
Therefore, a music producer must search through the U.S. performing rights society databases to find the copyright owners of a song. Usually, it’s easy to do that by going through ASCAP or BMI databases.
In general, these databases will house a list of all the producers, writers, and publishers that own the rights to a certain track. In most cases, a database will also include direct contact information to reach out to those in charge.
If not, a music producer will contact the department that’s responsible for licensing or clearance at the original artist’s company. Oftentimes, the people who work in such departments are the ones who handle the role of licensing finished recordings.
Step 2: Requesting a Sampling License
The next step after finding out who the copyright owners are and the proper way to reach them is to write a license request. This request must include a few key points, such as:
- The exact duration of the sample that the producer wants
- The part of the song that the producer needs (the intro, chorus, a drum loop, etc.)
- How the sample will be used (background distorted sound, a riff that’s looped over and over, etc.)
- The number of units that the producer will create within their song
- The media type to use (streaming, CDs, etc.)
In some cases, the people in charge of licensing may ask the producer for a copy of the final recording. They might need to have a good listen to it first in order to grant the producer the license that he requested.
However, in a few instances, the portion that somebody takes from a song may be too small to infringe copyrights. Since that part will be unrecognizable if people listen to it, a producer may not need a license to use it in a new recording.
Still, these situations require some serious analysis. They’ll often take a lot of time to be determined due to the complexity of the process of analyzing the sample.
Step 3: Paying Fees for the License
After going through the previous two steps, it’ll be finally time to pay the license fees.
Usually, these fees will consist of an upfront portion as well as a royalty when each new record is sold. Besides these two, the fees may include an ownership interest in the recording for the original artists.
An important thing to know about license fees is that they can hugely vary depending on several factors. These points are:
- How famous the original artist is
- How successful the song is (Did it make it to the top of musical charts? Was it nominated for a Grammy?)
- How popular the sampling producer is
- The duration of the sample that a producer wants to take
- How the sample will be used or distributed in the new recording
It makes sense, right? The larger the sample that you take or the more well-known the song is, the more you’d have to spend to put your hands on it.
Yet, one of the coolest things about license fees is that they’re highly negotiable. The reason behind this is that, when the sample is used in a new song, the track will always have a chance to become an instant hit.
Therefore, the original artist may benefit greatly from that since they could get a substantial chunk of money in return!
Pretty amazing how things go down in the music business, right?
How to Start Sampling Music: A Step-By-Step Guide for Beginners

Look, you don’t need to be a world-famous music producer to extract samples from songs and use them in a whole new context. You could easily achieve that goal from the comfort of your bedroom without having to pay a penny.
Ready to find out how to do that?
Step 1: Find the Perfect DAW
If you don’t already have digital audio workstation (DAW) software, it’s time to browse the market for the right one for your needs. Thankfully, there’s a huge array of options that you can pick from.
Some DAWs come with a straightforward interface and they’re free to use. These may be your top choice as a beginner to allow you the chance to test the waters first. The most popular DAWs in this category are GarageBand, Ableton Live Lite, and Audacity.
Or, if you prefer to invest in a paid DAW for more premium features, you could give Logic a shot. Other options include Fruity Loops, Pro Tools, Steinberg Cubase, and Ableton.
Step 2: Download Your Audio Files
As we’ve previously mentioned, there are many sources where you can find royalty-free music to download for sampling purposes. Many online libraries are full of samples that other people provide for free to help flourishing artists.
In that case, the original artist may only ask to be given credit for his samples. Alternatively, they might require an insignificant fee, which is a small price to pay for such a great gesture.
You could consider other options if you’ve been making your own music for a while.

Instead of looking for samples online, you could import parts of tracks you’ve already put together yourself. Since you’re the one who made those compositions, you won’t have to worry about copyright infringement.
Now that you’ve chosen your track, it’s time to determine which portion of the song you want to cut out. Do you want a certain beat drop, a few seconds of “Oh, yeah” vocals, or a simple piano melody?
When you’ve made up your mind, you can finally let the action begin!
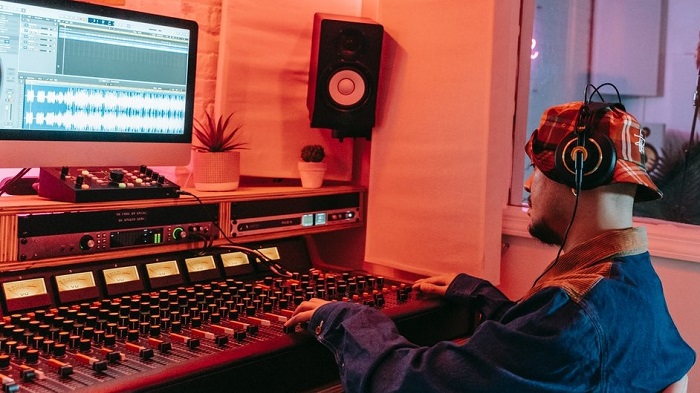
Step 3: Import the Audio File to Your DAW
Open your DAW software on your laptop or PC, and then import the audio file of your choice. For the best results, use a WAV or AIFF audio format to ensure that the quality of the sample stays intact after you take it.
If you can’t find these versions anywhere, you could always go for MP3 or AAC files instead.
Step 4: Cut Out Your Sample
On GarageBand, or whatever software you’re using, chop the portion that you want out of the song that you’ve chosen. Cutting out parts of a track on GarageBand is fairly simple once you learn all the basics of how the program works.
Remember to keep your cuts accurate, making sure that the beat lines up perfectly. This is important especially if you intend to repeat this part over and over in your new recording. You want the loops to be seamless and smooth.
Extract this section and save it in another file so that it becomes an independent sample.
Step 5: Loop the Sample That You’ve Extracted

If you’ll be repeating this sample, you must loop it for a natural flow throughout your new song. Thankfully, even the most basic DAWs have a looping function. Make sure that this option is enabled in your specific DAW, then you can get to work.
Simply enough, loop your sample so that it becomes free of hiccups and pauses to create a perfect groove.
Of course, you can choose not to loop that section at all if you’re not going to repeat it in your recording. If you’ll be using this sample only once or twice in certain parts of your song, just drop it where you want it to be.
Sure, placing the sample exactly where you need will require you to be as careful as possible to reach that level of accuracy.
In some cases, people prefer not to loop their samples despite their desire to repeat them in their songs. In this scenario, you could drag and drop that sample into your new track, then use another instrument to build your groove.
Step 6: Repeat, Edit, and Polish to Perfection
Now that your sample is looped and ready for repetition, you can construct your song as you see fit. In most hip-hop and EDM tracks, you might need more than one sample to achieve the vibes that these genres usually give off.
Just create more samples, loop, drag and drop, and perform any necessary edits that your new song requires. After adding all the rest of the elements as well as some sound effects here and there, you’ll have built a unique entity out of small parts of unknown songs.
Pretty impressive, don’t you think so?